
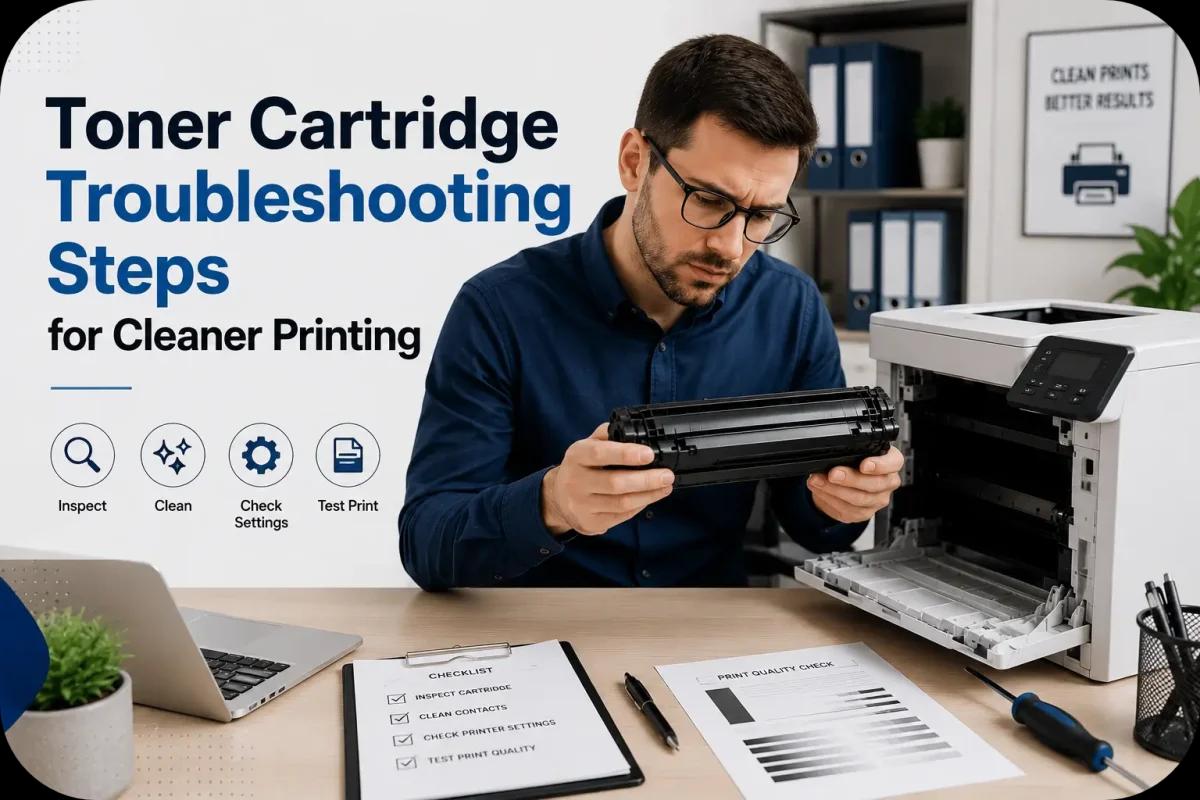
Toner Cartridge Troubleshooting Steps for Cleaner Printing
Nothing is more frustrating than printing an important document only to see streaks, faded text, smudges, or uneven print quality. In many cases, these printing problems are directly connected to toner cartridge issues. Fortunately, most toner cartridge problems can be solved with simple troubleshooting and proper printer maintenance.
Clean, professional printing depends on several factors, including cartridge condition, printer cleanliness, toner quality, and correct installation. By understanding basic toner cartridge troubleshooting steps, businesses and home users can improve print quality, reduce wasted toner, and extend printer lifespan.
This guide explains practical toner cartridge troubleshooting steps that help create cleaner, sharper, and more reliable printing results.
Why Toner Cartridge Problems Affect Print Quality?
Laser printers rely heavily on toner cartridges to transfer toner evenly onto paper.
When a toner cartridge develops issues, common printing problems may include:
- Streaks
- Smudges
- Faded text
- Uneven toner coverage
- Blank spots
- Background shading
Because toner cartridges interact directly with multiple printer components, even small cartridge problems may affect overall print quality.
Start With a Test Print
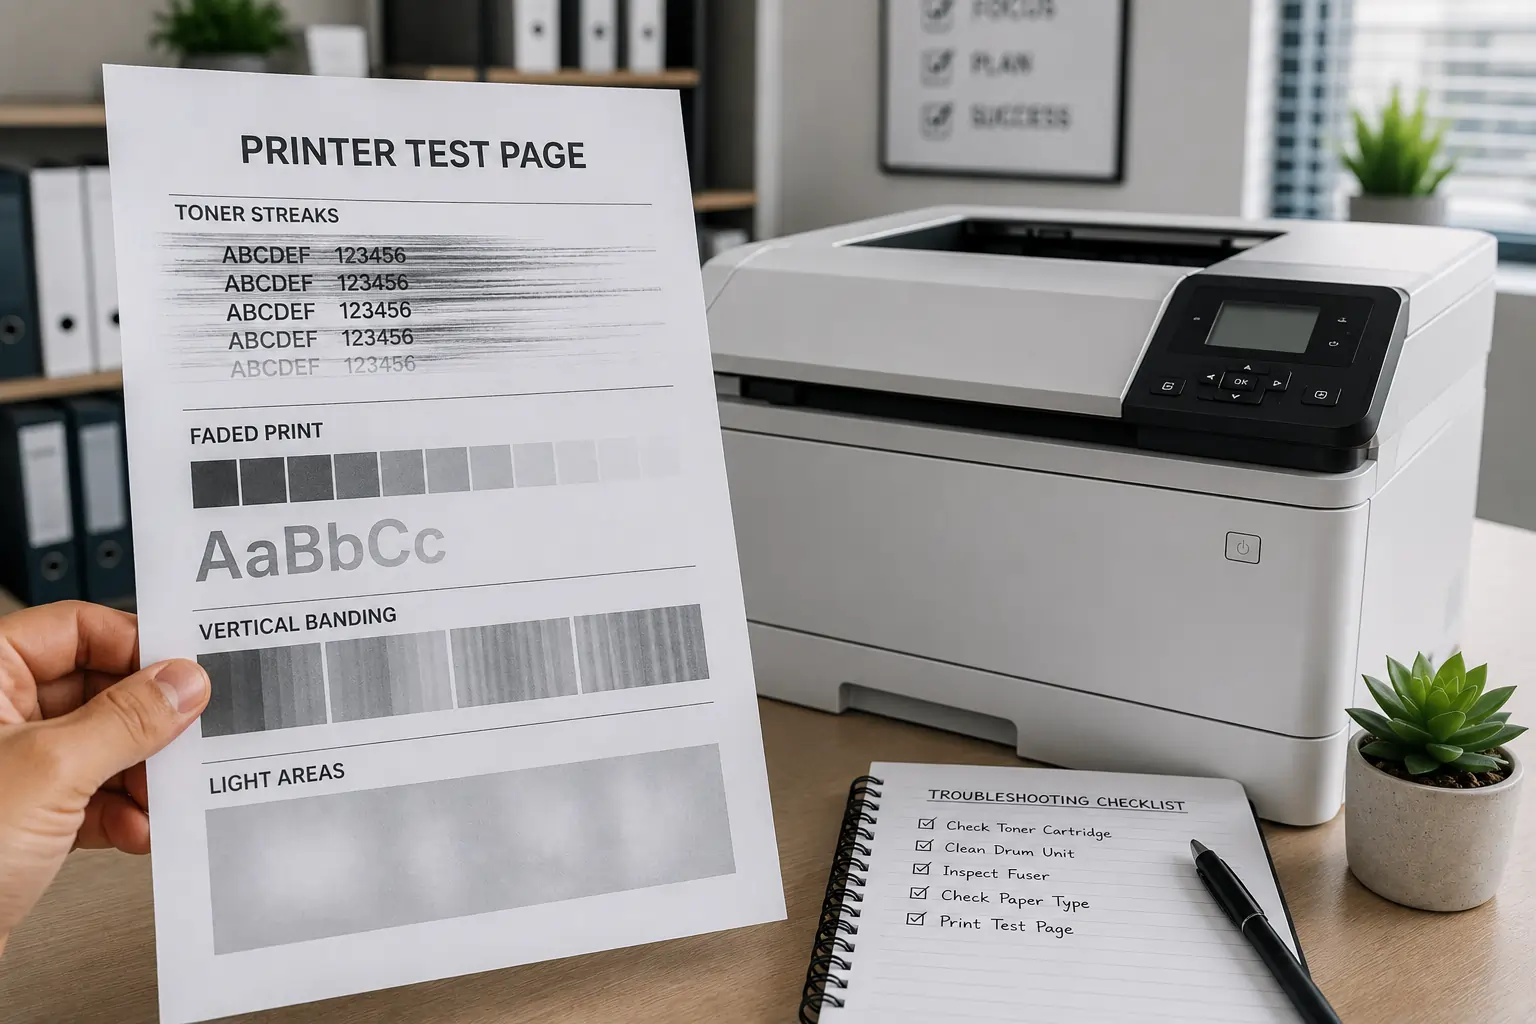
Before troubleshooting further, print a test page.
Identify the Type of Print Defect
Carefully inspect the printed page for:
- Vertical streaks
- Horizontal lines
- Faded areas
- Repeated marks
- Toner smears
Print Patterns Help Identify Problems
Different print defects often point to specific issues involving:
- Toner cartridges
- Drum units
- Rollers
- Printer settings
As a result, test pages help narrow down the troubleshooting process.
Check Toner Cartridge Installation
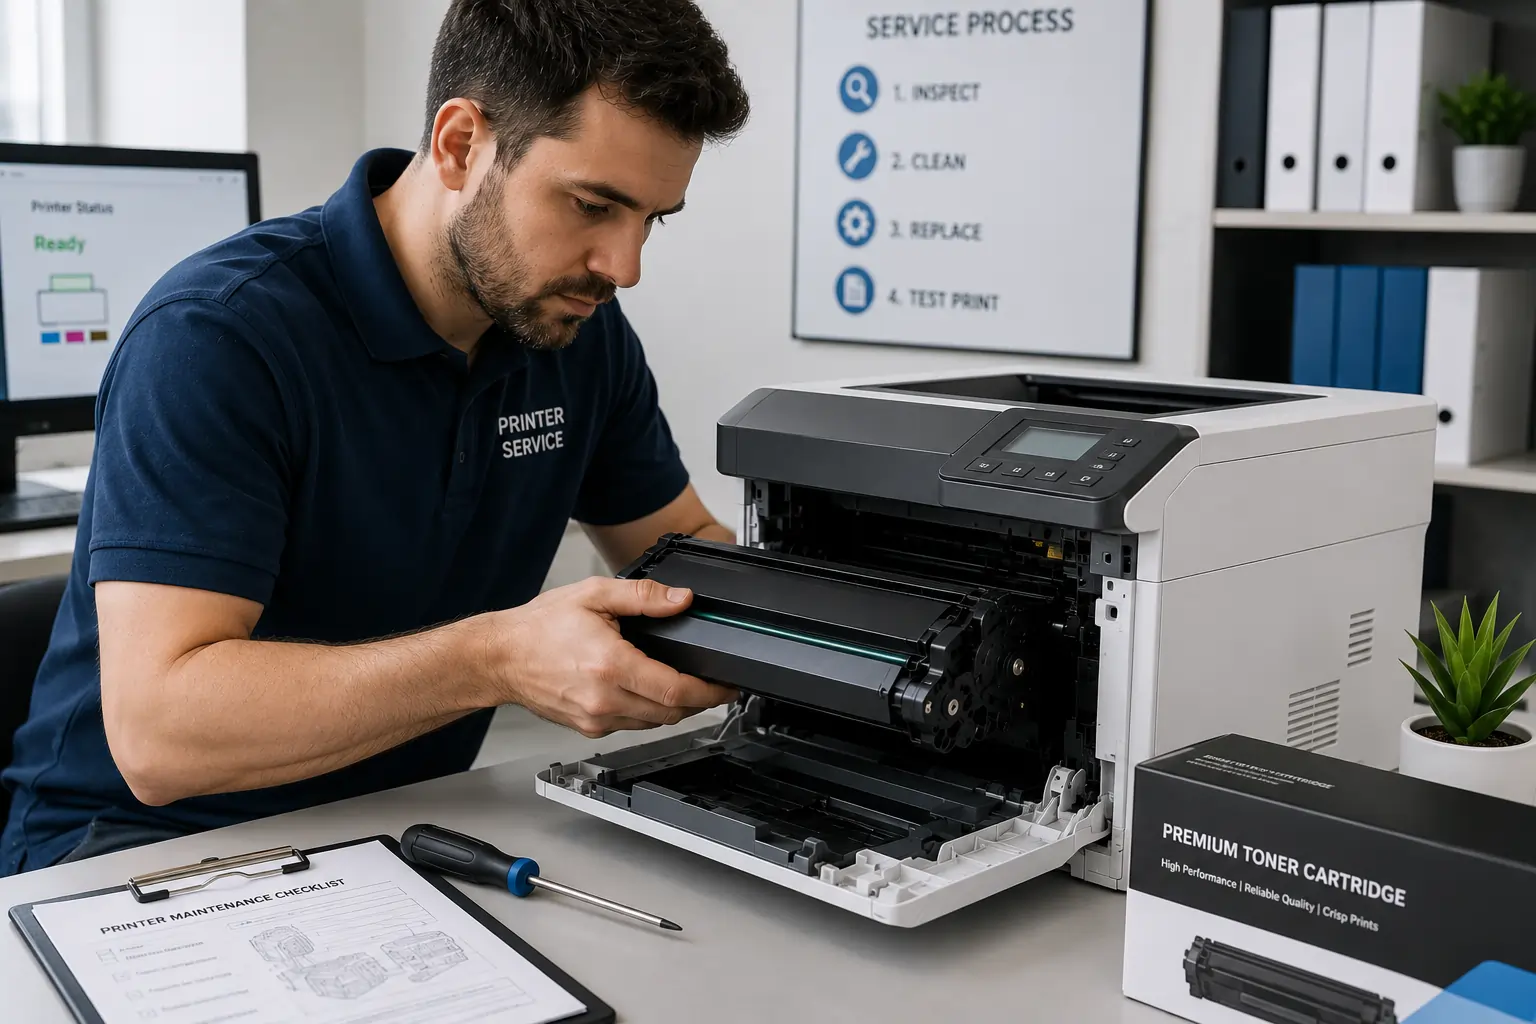
Improper cartridge installation is one of the most common causes of poor print quality.
Remove and Reinstall the Cartridge
Carefully:
- Turn off the printer
- Remove the toner cartridge
- Inspect alignment guides
- Reinstall the cartridge securely
Ensure Proper Cartridge Positioning
The cartridge should:
- Fit smoothly
- Lock firmly into place
- Sit evenly inside the printer
Because of this, proper installation often solves many printing problems immediately.
Inspect the Toner Cartridge for Damage
Damaged cartridges frequently create messy or inconsistent printing.
Look for Physical Damage
Inspect for:
- Cracks
- Loose parts
- Toner leaks
- Damaged rollers
- Broken gears
Replace Severely Damaged Cartridges
Using damaged cartridges may:
- Worsen print quality
- Contaminate the printer interior
- Cause additional maintenance problems
Therefore, damaged cartridges should be replaced promptly.
Gently Shake the Toner Cartridge
Low toner distribution may cause faded printing.
Redistribute Remaining Toner
Carefully shaking the cartridge side to side may help:
- Spread toner evenly
- Improve temporary print quality
- Extend short term usability
Avoid Aggressive Shaking
Rough handling may:
- Damage cartridge components
- Cause toner leaks
- Create messy spills
As a result, gentle handling is important during troubleshooting.
Clean the Printer Interior
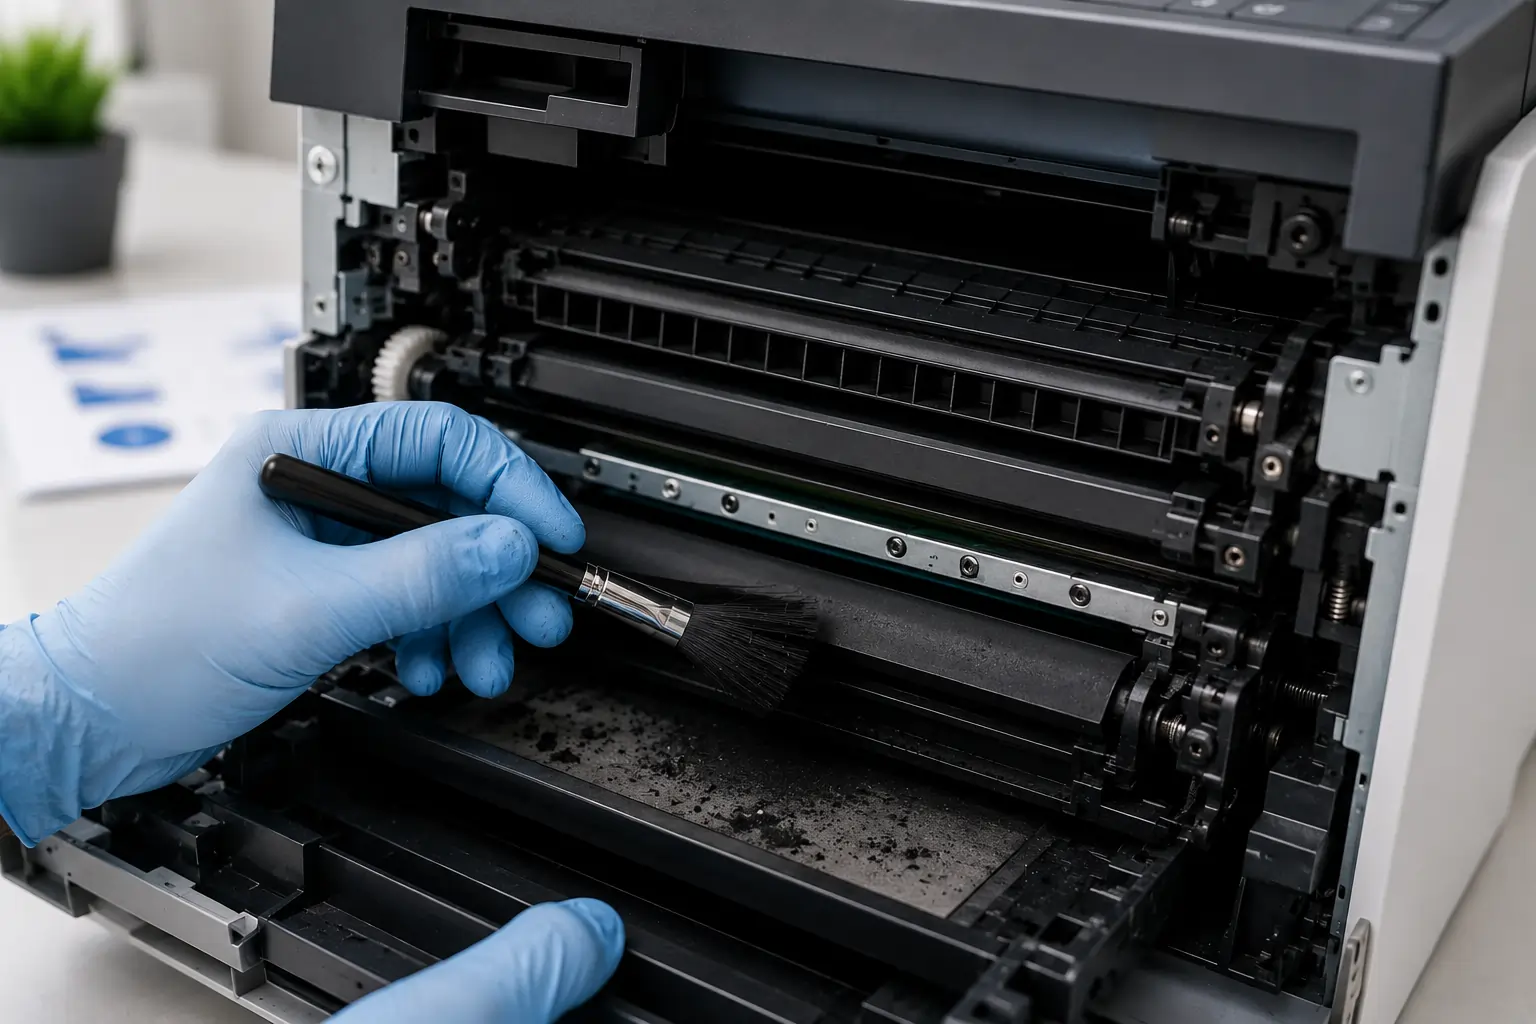
Loose toner and dust buildup often affect print quality.
Toner Residue Can Interfere With Printing
Excess toner buildup may cause:
- Smudges
- Streaks
- Dirty prints
- Toner transfer problems
Use Safe Cleaning Methods
Clean carefully using:
- Soft lint free cloths
- Manufacturer approved tools
- Gentle cleaning techniques
Because of this, routine cleaning helps maintain cleaner printing results.
Businesses looking for dependable toner cartridge solutions can explore products from Toner Connect.
Check the Drum Unit
Some printers separate the toner cartridge and drum unit, while others combine them.
Worn Drum Units Affect Print Quality
A damaged drum may create:
- Repeating marks
- Vertical streaks
- Faded images
- Uneven toner coverage
Avoid Touching the Drum Surface
Fingerprints or scratches may permanently damage the drum.
Therefore, drum units should be handled carefully during maintenance.
Verify Printer Settings
Incorrect print settings may also reduce print quality.
Check Print Density Settings
Low density settings may produce:
- Faded text
- Weak image quality
Use Correct Paper Settings
Wrong paper type settings may affect:
- Toner bonding
- Heat transfer
- Print sharpness
As a result, proper printer settings improve overall print clarity.
Use High Quality Toner Cartridges
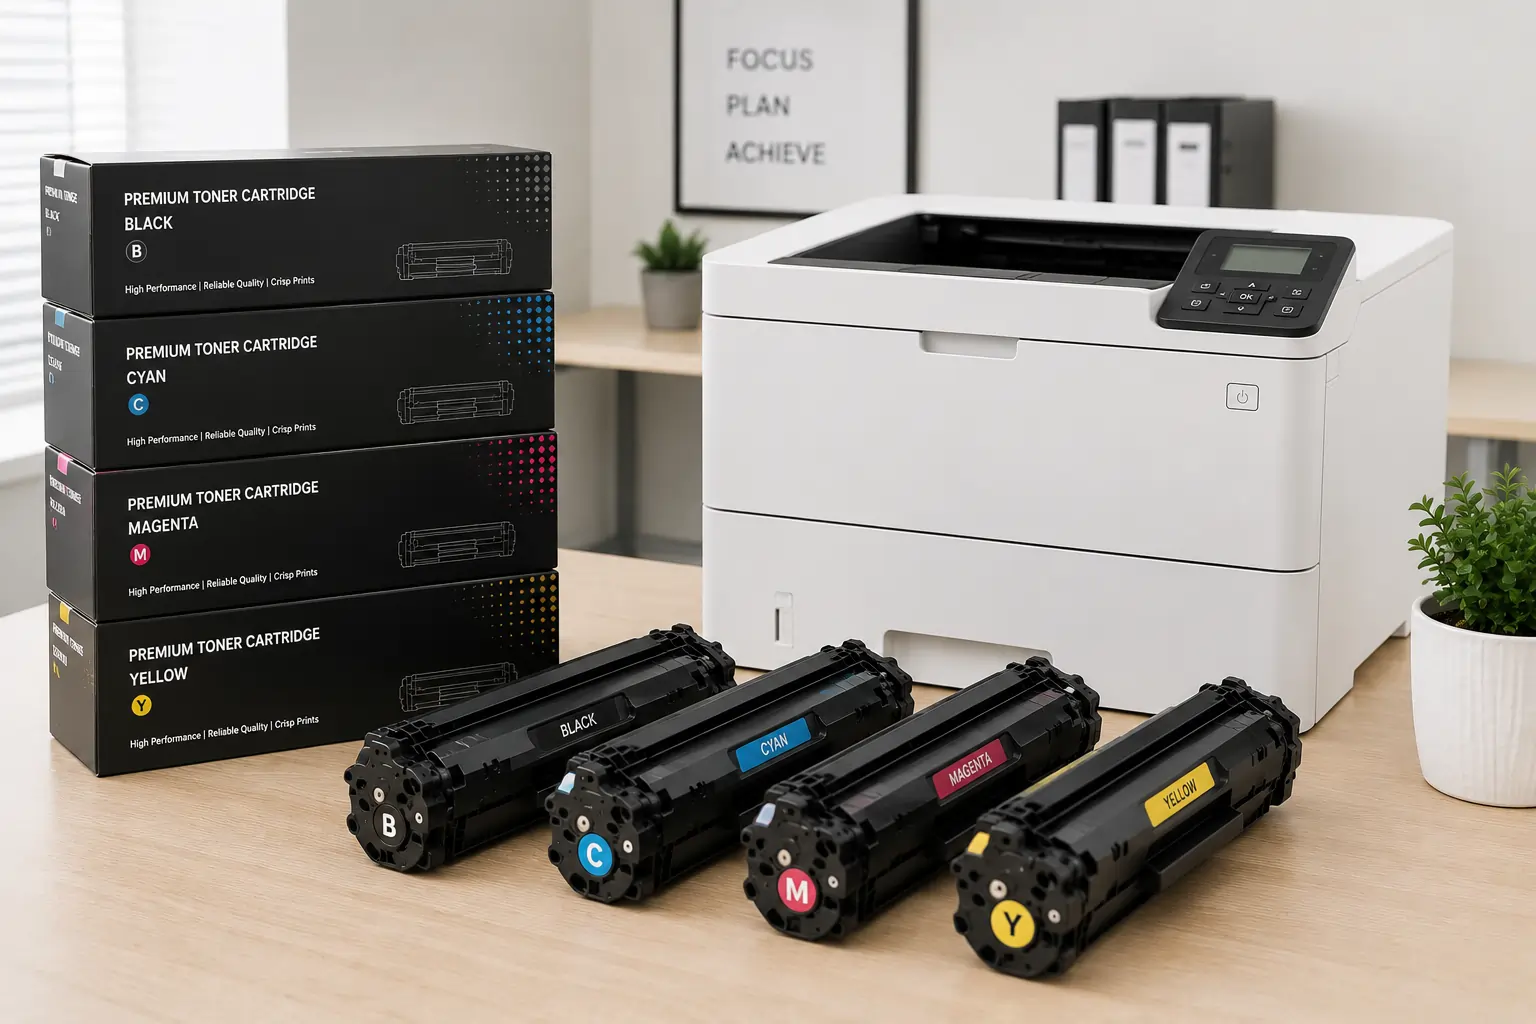
Low quality toner cartridges often create ongoing print problems.
Cheap Cartridges May Cause:
- Toner leaks
- Inconsistent toner flow
- Lower page yield
- Printer recognition errors
Reliable Toner Improves Printing Consistency
High quality cartridges usually provide:
- Better toner distribution
- Cleaner prints
- More stable performance
Because of this, toner quality directly affects printing reliability.
Replace Worn Printer Components
Some print problems are caused by aging printer parts rather than the toner cartridge itself.
Components That May Wear Out
Over time, printers may develop issues with:
- Rollers
- Fusers
- Transfer belts
- Drum units
Routine Maintenance Helps Prevent Problems
Regular maintenance improves:
- Print quality
- Toner efficiency
- Printer lifespan
As a result, preventative maintenance reduces long term printing problems.
Store Toner Cartridges Properly
Improper storage may damage toner cartridges before installation.
Keep Cartridges Away From Heat and Humidity
Environmental exposure may affect:
- Toner consistency
- Cartridge seals
- Internal components
Use Original Packaging
Original packaging protects cartridges from:
- Dust
- Moisture
- Physical damage
Because of this, proper storage helps preserve toner quality.
Avoid Common Toner Cartridge Troubleshooting Mistakes
Some troubleshooting mistakes may worsen printer problems.
Ignoring Early Print Defects
Small print problems may eventually become major printer issues.
Using Damaged Cartridges Too Long
Worn cartridges may damage other printer components over time.
Skipping Printer Cleaning
Dirty printers often produce recurring print quality problems.
Therefore, early troubleshooting and maintenance are always recommended.
Modern Printers Include Smarter Troubleshooting Features
Modern laser printers now include:
- Toner level monitoring
- Maintenance alerts
- Diagnostic reporting
- Print quality calibration systems
These tools help users identify cartridge issues faster and improve printing reliability.
According to HP and Canon printer support resources, regular toner maintenance and proper cartridge handling remain essential for achieving cleaner and more consistent printing results.
Conclusion
Toner cartridge troubleshooting plays a major role in maintaining cleaner, sharper, and more professional printing results. By checking cartridge installation, cleaning the printer regularly, inspecting toner components carefully, and using reliable toner supplies, businesses and home users can reduce print defects while improving printer performance. In addition, proper maintenance helps extend cartridge lifespan, reduce toner waste, and create more reliable long term printing efficiency.