Step-by-Step Toner Cartridge Replacement Guide
Why Proper Toner Cartridge Replacement Matters?
Replacing a toner cartridge may seem simple, but doing it correctly helps maintain print quality, prevents printer damage, and extends the life of your laser printer. Incorrect installation can lead to toner leaks, paper jams, or printer recognition errors.
Whether you use a home printer or manage office printing equipment, understanding the proper toner replacement process ensures smooth and reliable printing performance.
When Should You Replace a Toner Cartridge?
Most printers provide warning signs when toner levels are low. Replacing cartridges at the right time helps avoid interruptions and poor print quality.
Common Signs You Need a New Toner Cartridge
- Faded or light prints
- Streaks or lines on documents
- Blank sections on pages
- Low toner warning messages
- Uneven print quality
If you notice these issues consistently, it may be time to install a replacement toner cartridge.
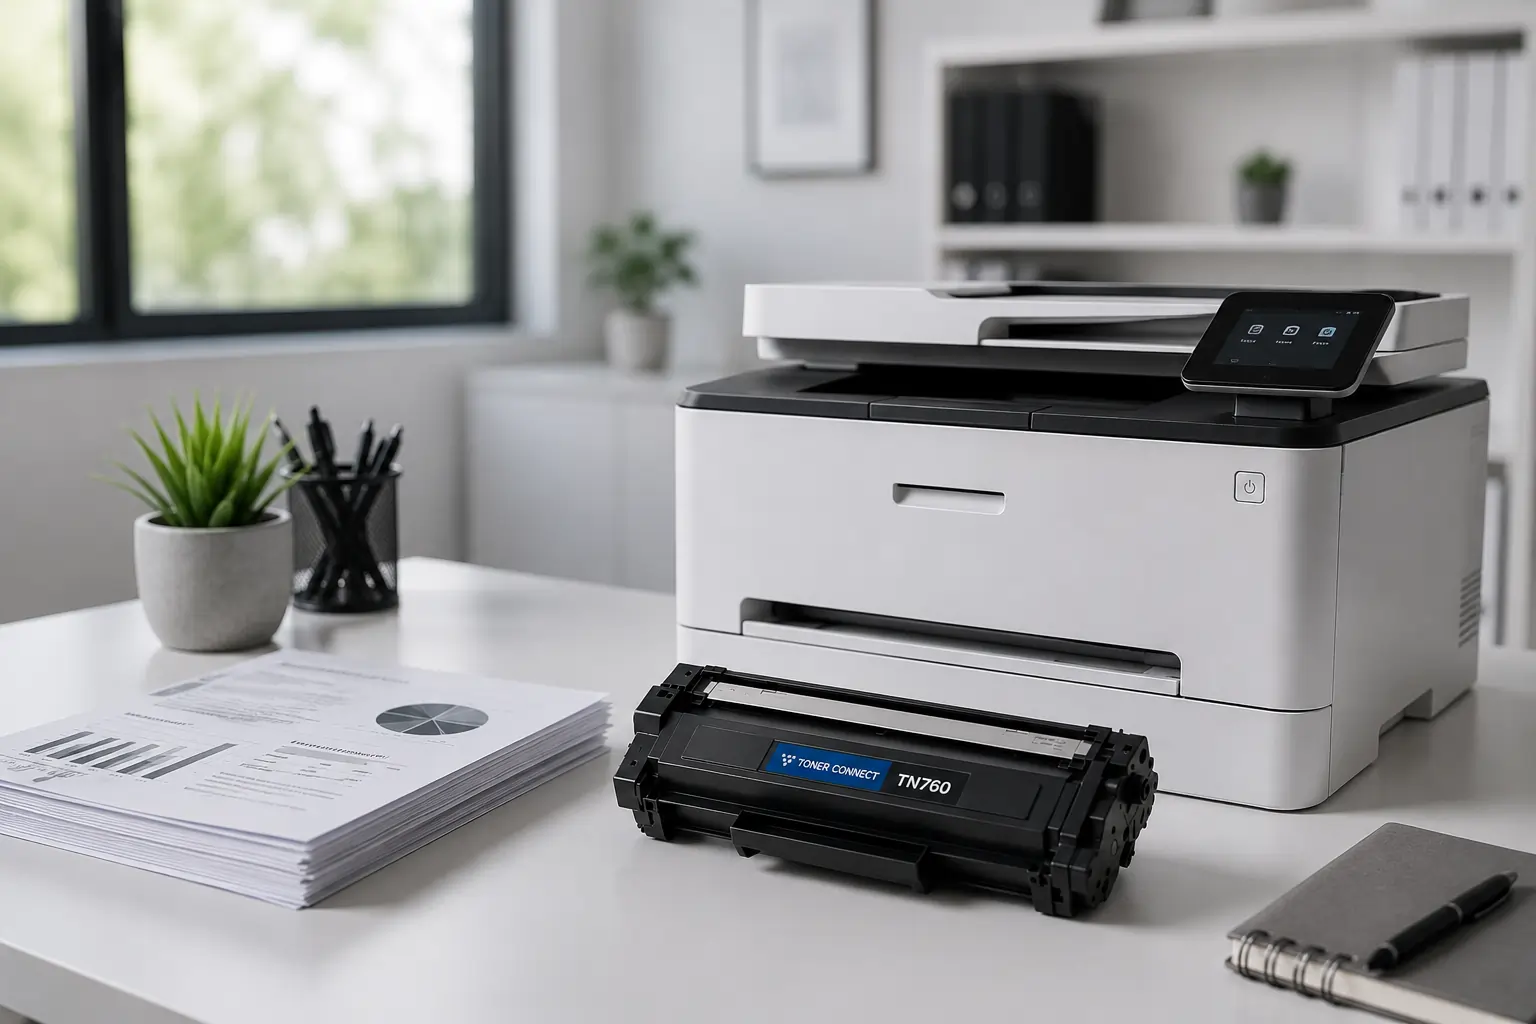
What You Need Before Replacing a Toner Cartridge?
Before starting the replacement process, gather a few essentials.
Supplies You May Need
- New toner cartridge
- Clean microfiber cloth
- Disposable gloves (optional)
- Waste paper or protective sheet
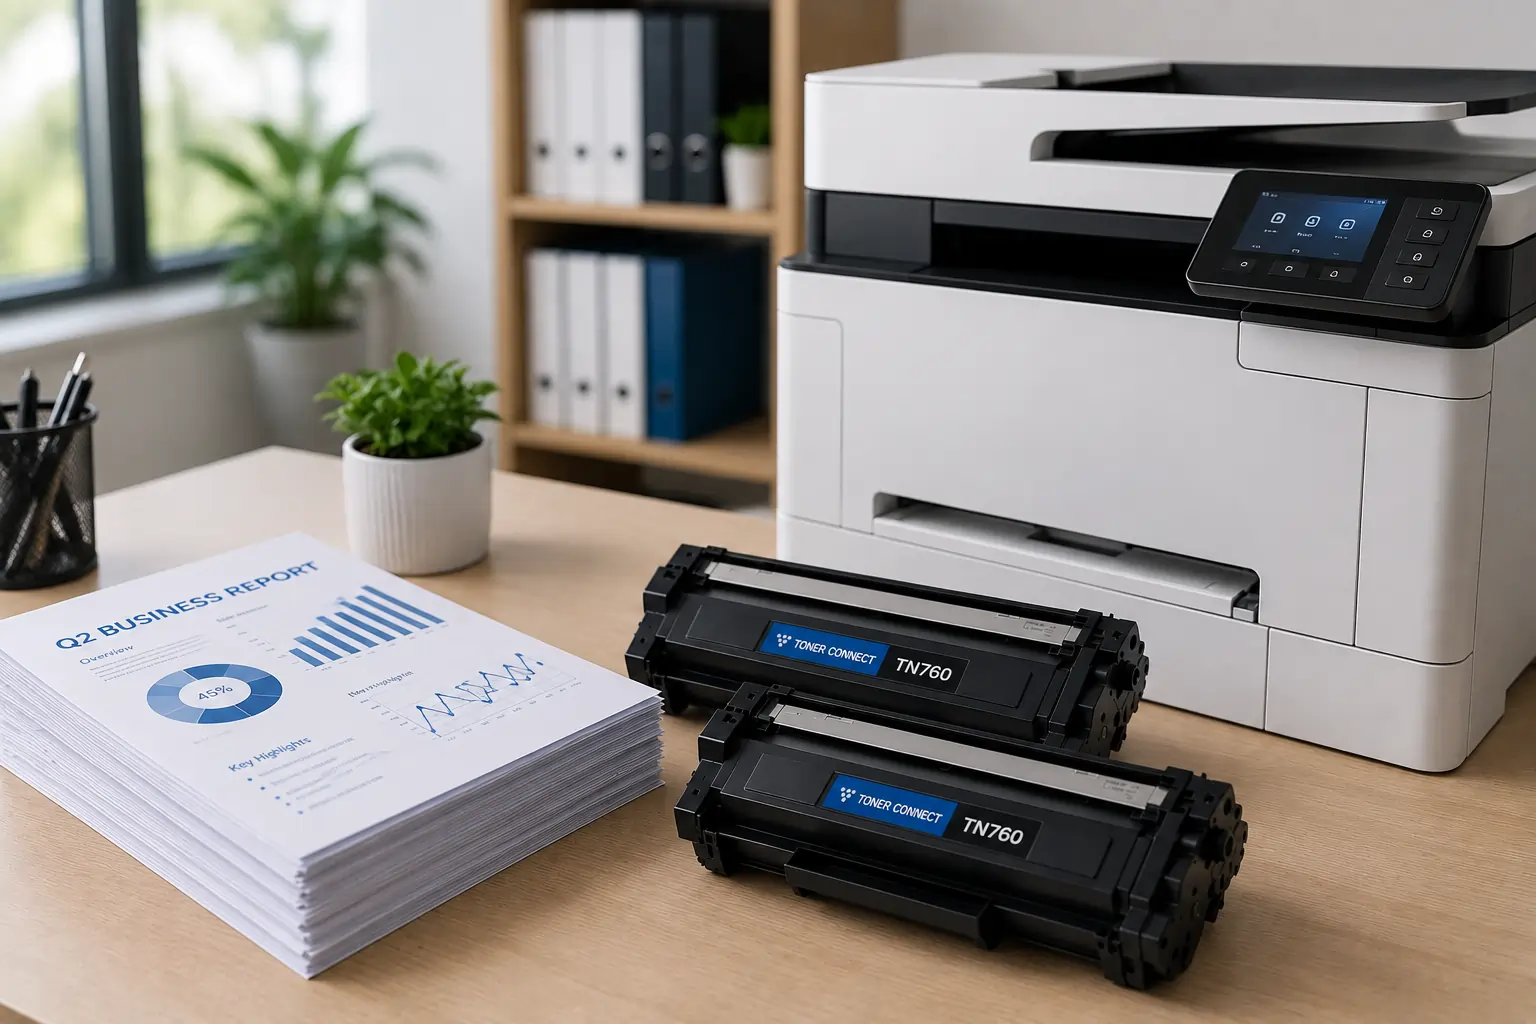
Using a compatible, high-quality toner cartridge from trusted suppliers like Toner Connect can help ensure better print performance and printer compatibility.
Step-by-Step Toner Cartridge Replacement Guide
Following the correct process reduces the risk of toner spills and printer issues.
Step 1, Turn Off the Printer
Power off the printer and unplug it if recommended by the manufacturer. Allow the printer to cool down for a few minutes, especially after heavy use.
Step 2, Open the Printer Access Panel
Locate the toner cartridge compartment and carefully open the printer cover or access door.
Most laser printers provide easy access to the cartridge area.
Step 3, Remove the Old Toner Cartridge
Gently pull the toner cartridge out using the handle provided. Avoid touching sensitive components such as the drum or roller areas.
Place the used cartridge on a protective surface to avoid toner spills.
Step 4, Prepare the New Toner Cartridge
Remove the new cartridge from its packaging and gently shake it side to side to distribute the toner evenly.
Carefully remove:
- Protective seals
- Plastic covers
- Packaging tape
Follow the instructions included with the cartridge.
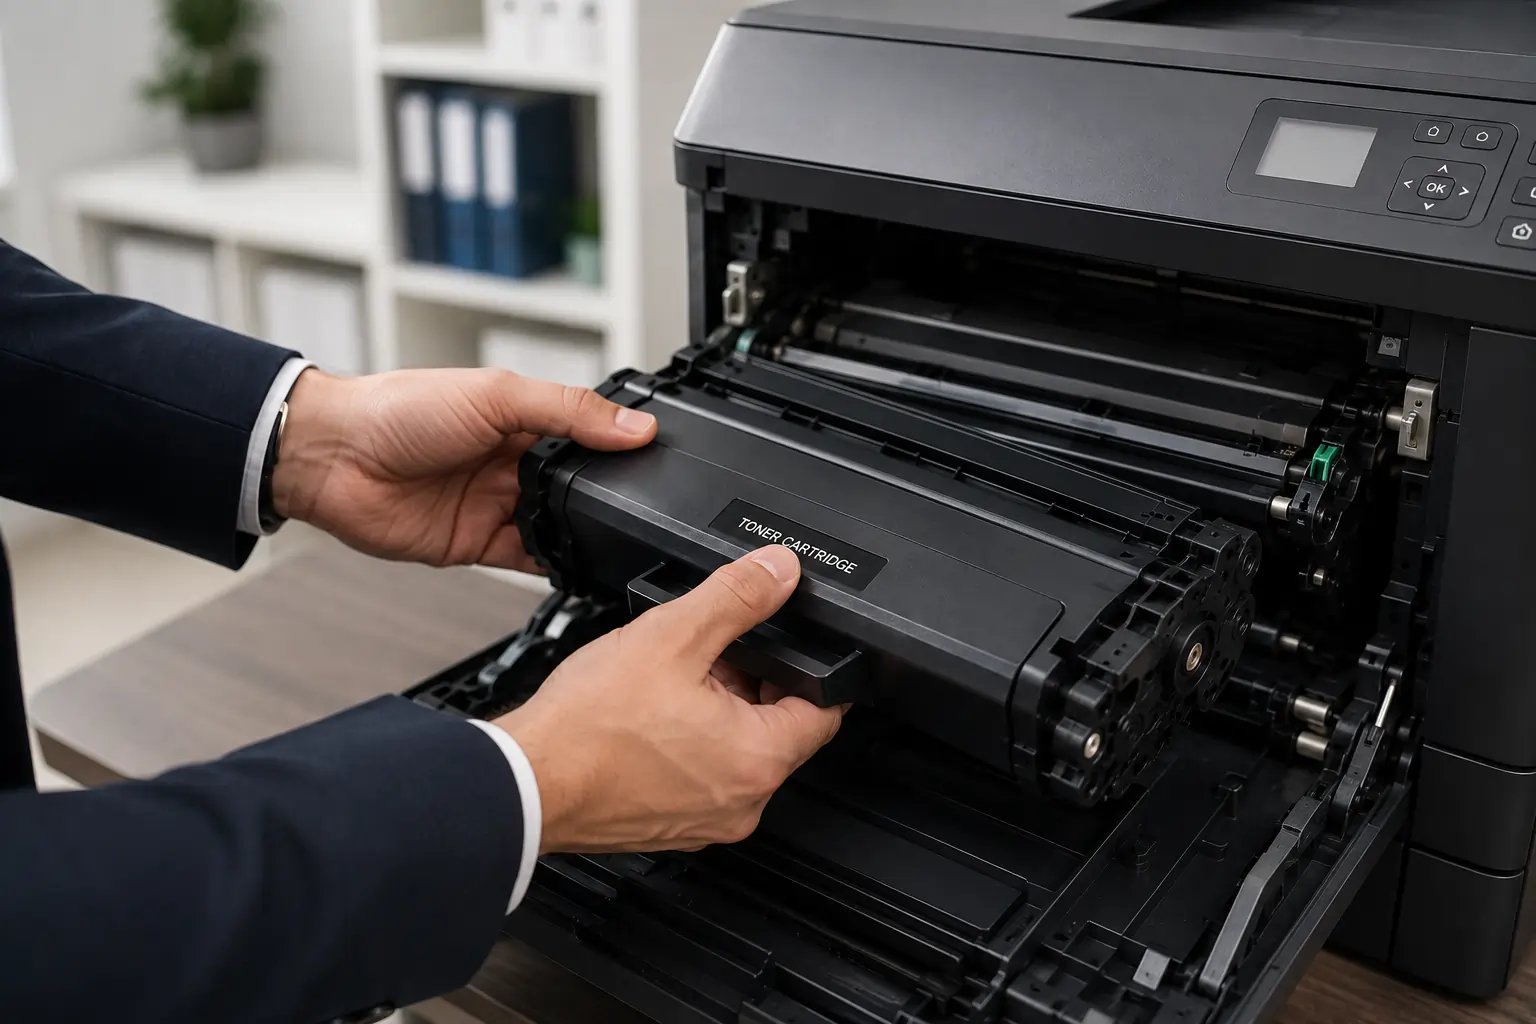
Step 5, Install the New Cartridge
Align the toner cartridge with the printer guides and slide it into place until it clicks securely.
Do not force the cartridge if resistance occurs.
Step 6, Close the Printer Cover
Once the cartridge is installed correctly, close the printer access panel securely.
Make sure all covers are fully closed before turning the printer back on.
Step 7, Test Print the Printer
Turn the printer on and print a test page to confirm:
- Proper installation
- Clear print quality
- Correct toner recognition
If print quality issues appear, recheck cartridge alignment and installation.
Common Toner Cartridge Replacement Mistakes
Avoiding common mistakes can prevent printer damage and improve cartridge performance.
Touching the Drum Surface
The drum is sensitive and can be damaged by fingerprints or scratches.
Skipping Protective Seal Removal
Leaving protective tape or seals attached may prevent toner from transferring properly.
Using Incompatible Cartridges
Incorrect cartridges can trigger printer errors or poor print results.
Forcing the Cartridge Into Place
Always install cartridges gently to avoid damaging printer components.
How to Dispose of Used Toner Cartridges?
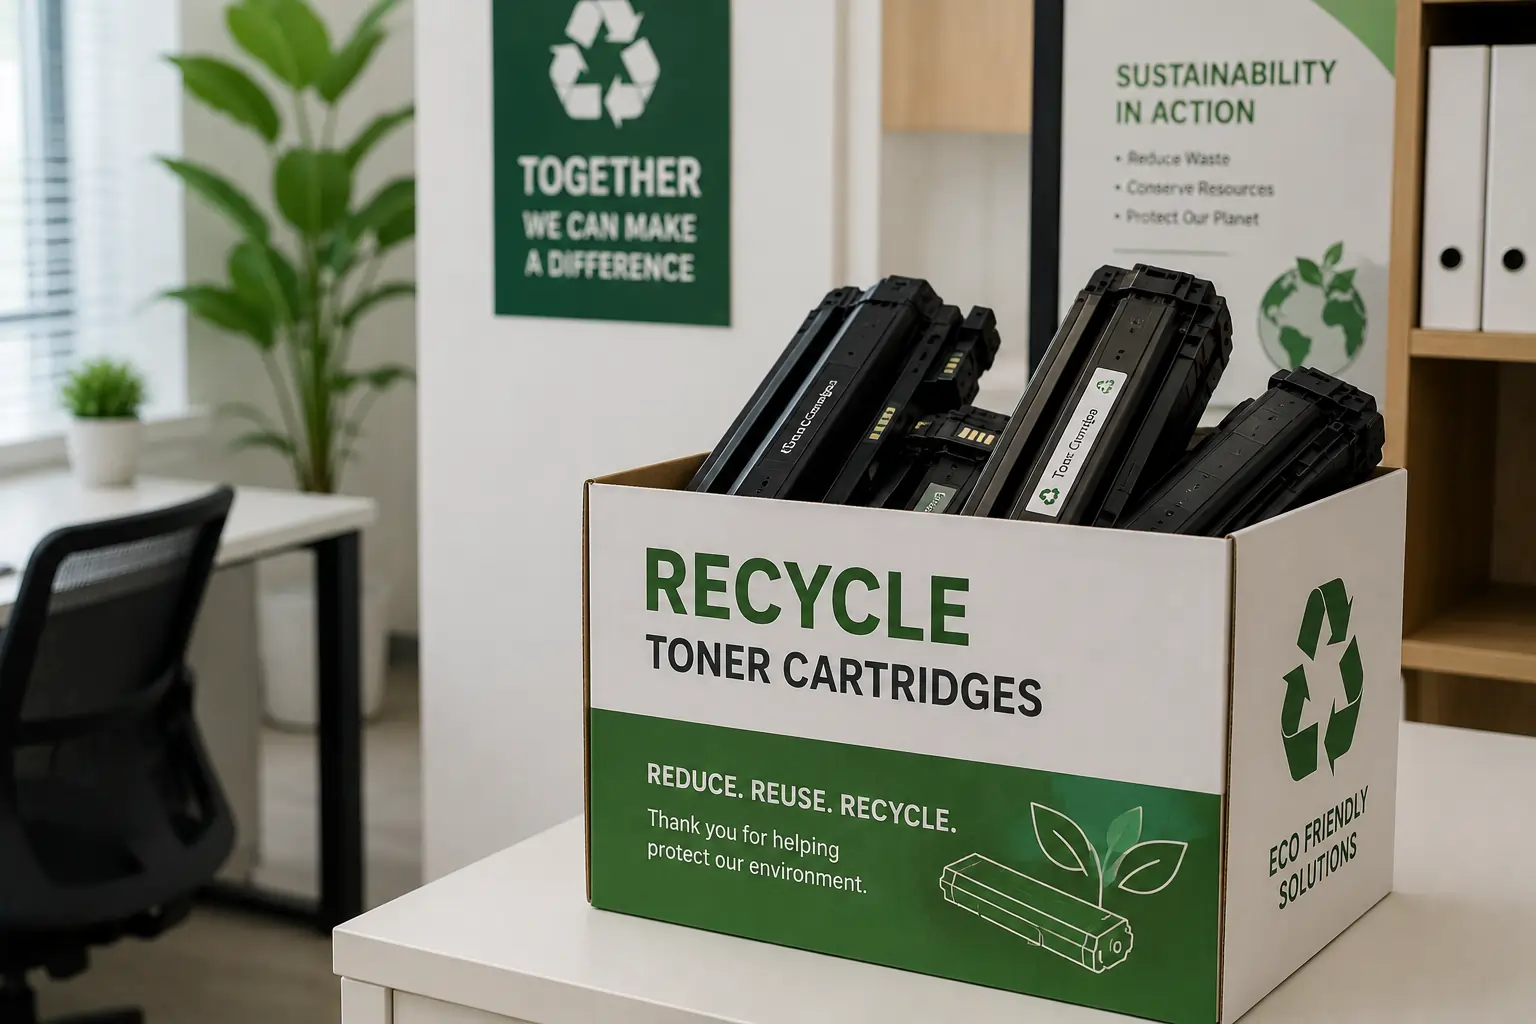
Many toner cartridges can be recycled through:
- Manufacturer recycling programs
- Office supply stores
- Local electronic recycling centers
Proper recycling helps reduce environmental waste and supports sustainable printing practices.
OEM vs Compatible Replacement Toner Cartridges
When replacing toner cartridges, users often choose between OEM and compatible options.
OEM Cartridges
Produced by the printer manufacturer, OEM cartridges are designed for maximum compatibility and consistent performance.
Compatible Cartridges
Compatible cartridges are third-party alternatives that can offer lower printing costs while still delivering reliable print quality when sourced from trusted suppliers.
Businesses looking for affordable printing solutions often choose compatible cartridges from retailers like Toner Connect.
Tips for Better Toner Cartridge Performance
To maximize cartridge life and print quality:
- Store cartridges in cool, dry environments
- Keep printers clean
- Use recommended paper types
- Avoid unnecessary high-quality print settings
- Replace cartridges promptly when empty
Good printer maintenance helps improve overall printing efficiency.
Troubleshooting After Replacing a Toner Cartridge
If your printer still experiences issues after replacement, try these steps.
Printer Does Not Recognize Cartridge
- Remove and reinstall the cartridge
- Check compatibility
- Restart the printer
Poor Print Quality
- Run printer cleaning cycles
- Check toner distribution
- Ensure packaging materials were removed
Toner Smudging
- Inspect for toner leaks
- Clean internal printer components
- Verify correct cartridge installation
Conclusion
Replacing a toner cartridge properly is essential for maintaining printer performance and achieving high-quality print results. By following a step-by-step toner cartridge replacement process, users can avoid common mistakes, extend printer lifespan, and reduce printing interruptions.
Using reliable toner cartridges and maintaining your printer regularly helps ensure smooth, professional-quality printing for both home and office environments.